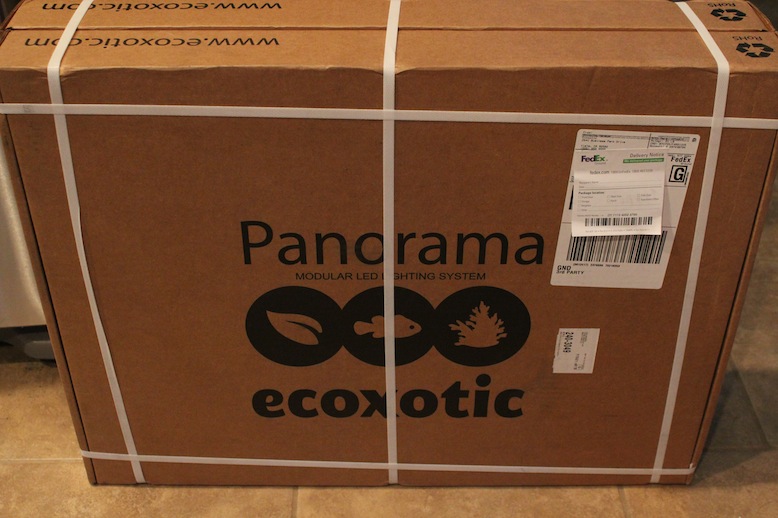
Just a few weeks ago, Ecoxotic unveiled a smaller version of their popular Panorama Pro LED fixture. Coming in at 18″, this light was ideal for smaller aquariums (such as BioCubes and Nano-Cubes), or could be stacked side by side to cover tanks in the popular three foot range. As luck would have it, we have an aquarium that measures three feet and Ecoxotic was kind enough to send us a pair of these LED fixtures to complete the build. This fixture show up on our doorstep yesterday, so we don’t have much playtime with it, so we decided to do a brief unboxing and give our initial opinions of the fixtures.
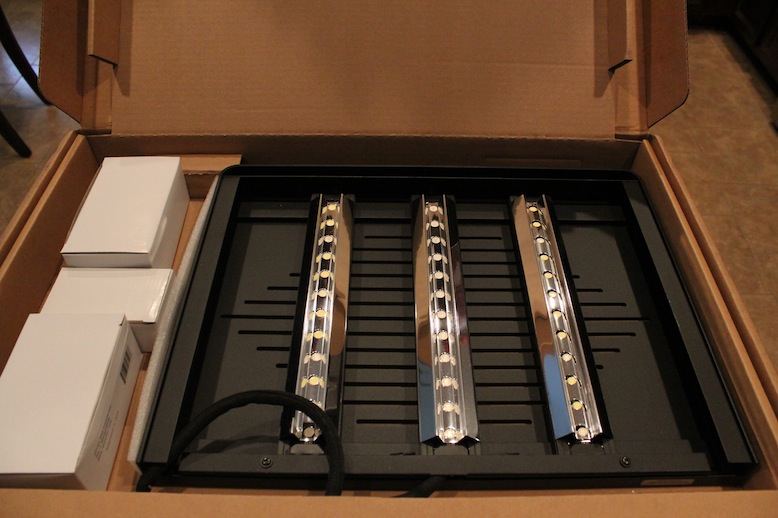
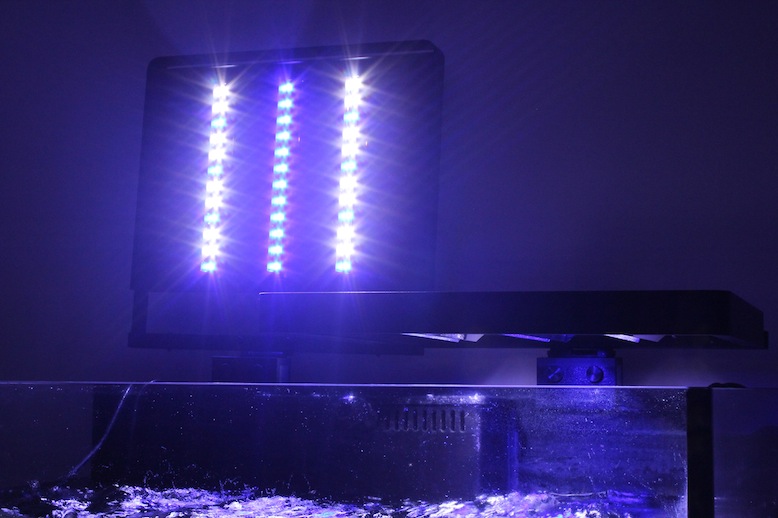
Upon opening the first box, we were greeted with a fully assembled light fixture that only needed to be attached to the mounting system and plugged into the power adapter to be up and running. There was no assembly needed for the individual modules, of which there are three, as they were already put in place. The provided color choices that come standard with the Panorama Pro are a single 445nm module in the middle and two 12,000K/445nm mixed modules located on either side. Each strip of lights is spaced evenly apart, and each comes with it own set of reflectors.
Since the modules were already in place and didn’t require any attention whatsoever, we figured we would tidy up the wiring in order to give the simple fixture a clean look once we had it installed. But Ecoxotic already has that part covered too! The three cords that feed power to the modules were already neatly packed into a cord sleeve. This meant only one thick cable was coming out of the back of the fixture instead of three smaller ones. With that already taken care of, we moved on to the assembly of the mounting system.
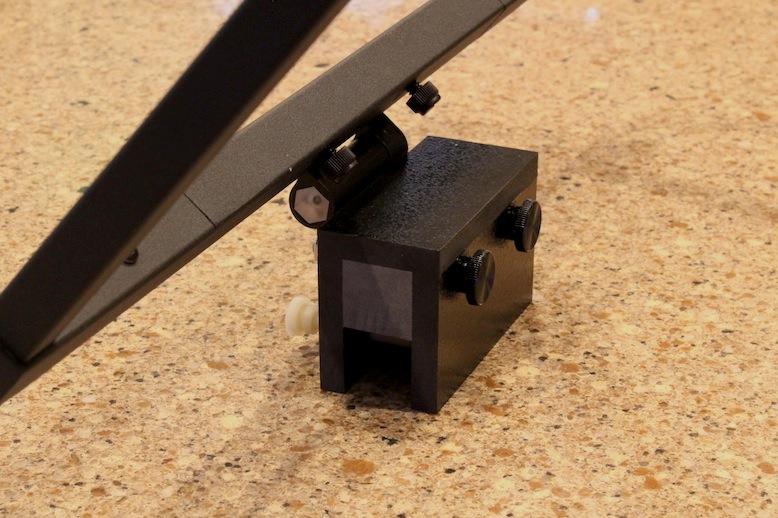
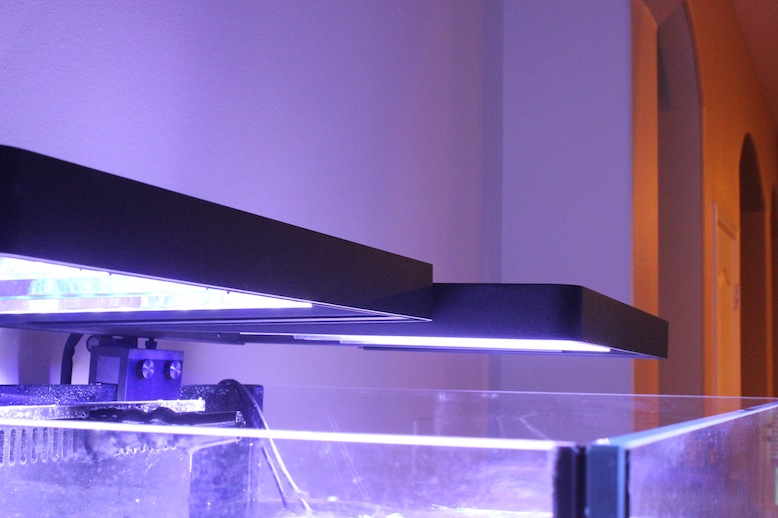
The mounting brackets we chose for our pair 18″ Panorama Pro LED fixtures was the simple tank mount style. Because the aquarium is rimless, we wanted a simple mounting system that didn’t intrude much into the visual space. There are a few different mounting options for Ecoxotic products, and we decided the simpler the better. So, we got on the assembly, which took all of about two seconds since all we had to do was put in two bolts to attach the arms to the pivoting arm. Installing the actual fixture onto the bracket was even easier, as all we had to do is insert the bracket’s arms into the back of the fixture. It was a simple as the block shapes that infants use. Insert the square peg into the square hole. From there, the fixture can slide back and forth on the bracket easily, allowing users to get their new light away from the back glass of the aquarium if need be.
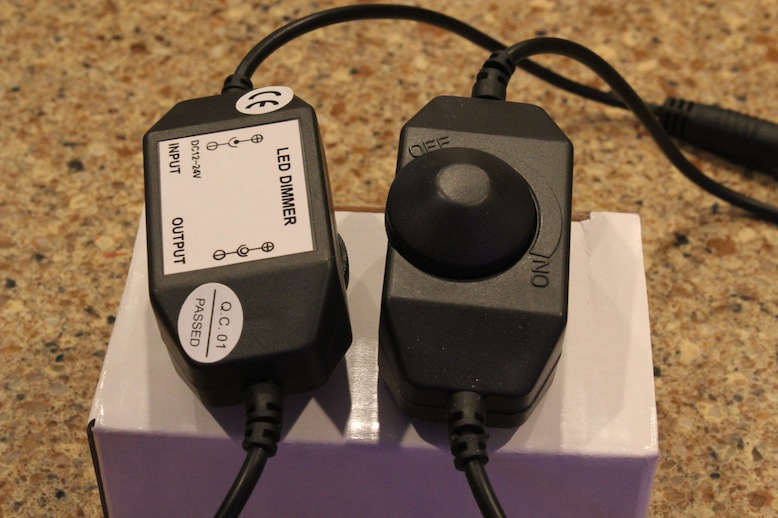
Moving on from the mounting brackets, we decided to play around with the LED dimmers that also come packaged with the lights. Each fixture comes with two dimmers, which are designed to go onto the two 12,000K/445nm mixed modules. Like everything else on these lights, putting these on was extremely simple as well. They plug in to the male and female ends of the lone cable running from the transformers to the module. Once installed, adjusting the brightness was as simple as turning a knob.
Once the 5-minute fixture assembly was complete, we moved the Panorama Pros to the aquarium and started the install. The tank mount sits right on the rim of the aquarium and it’s secured using a pair of nylon thumbscrews. The screws fit into a pair of holes on the mounting bracket and tighten down on the glass (or acrylic) to keep the fixture from tipping forward. It does take a bit of effort to screw in the thumbscrews, but once they are set to the desired length, they don’t move. The one downside to using thumbscrews is the fact that they do tear into the black paint on the back of the aquarium, but this is just an inherit problem with the screws.
With the light installed on the aquarium, we noticed the front leaning downward toward the water a bit too much. But once again, Ecoxotic has us covered. Built into the mounting bracket is a pair of level adjusting screws that push the front of the light upward and away from the water. Each screw will have to be independently adjusted to the same length, otherwise the fixture will sit unlevel, but this is a simple tweaking that takes only seconds to accomplish. Once the heights of the Panorama Pro fixtures were adjusted, we began to slide the lights forward to get them centered over the aquarium.
All in all, we are quite pleased with the 18″ Panorama Pro LED fixture from Ecoxotic so far. We haven’t had a chance to take PAR readings quite yet, but we also just did some maintenance work in the aquarium which caused the water to get a little cloudy. We’ll continue our review with those readings shortly, and be on the lookout for a video review as well.


